Sunday, December 17, 2023

Graffiti Quilt (one type of artist inspiring another type of artist)

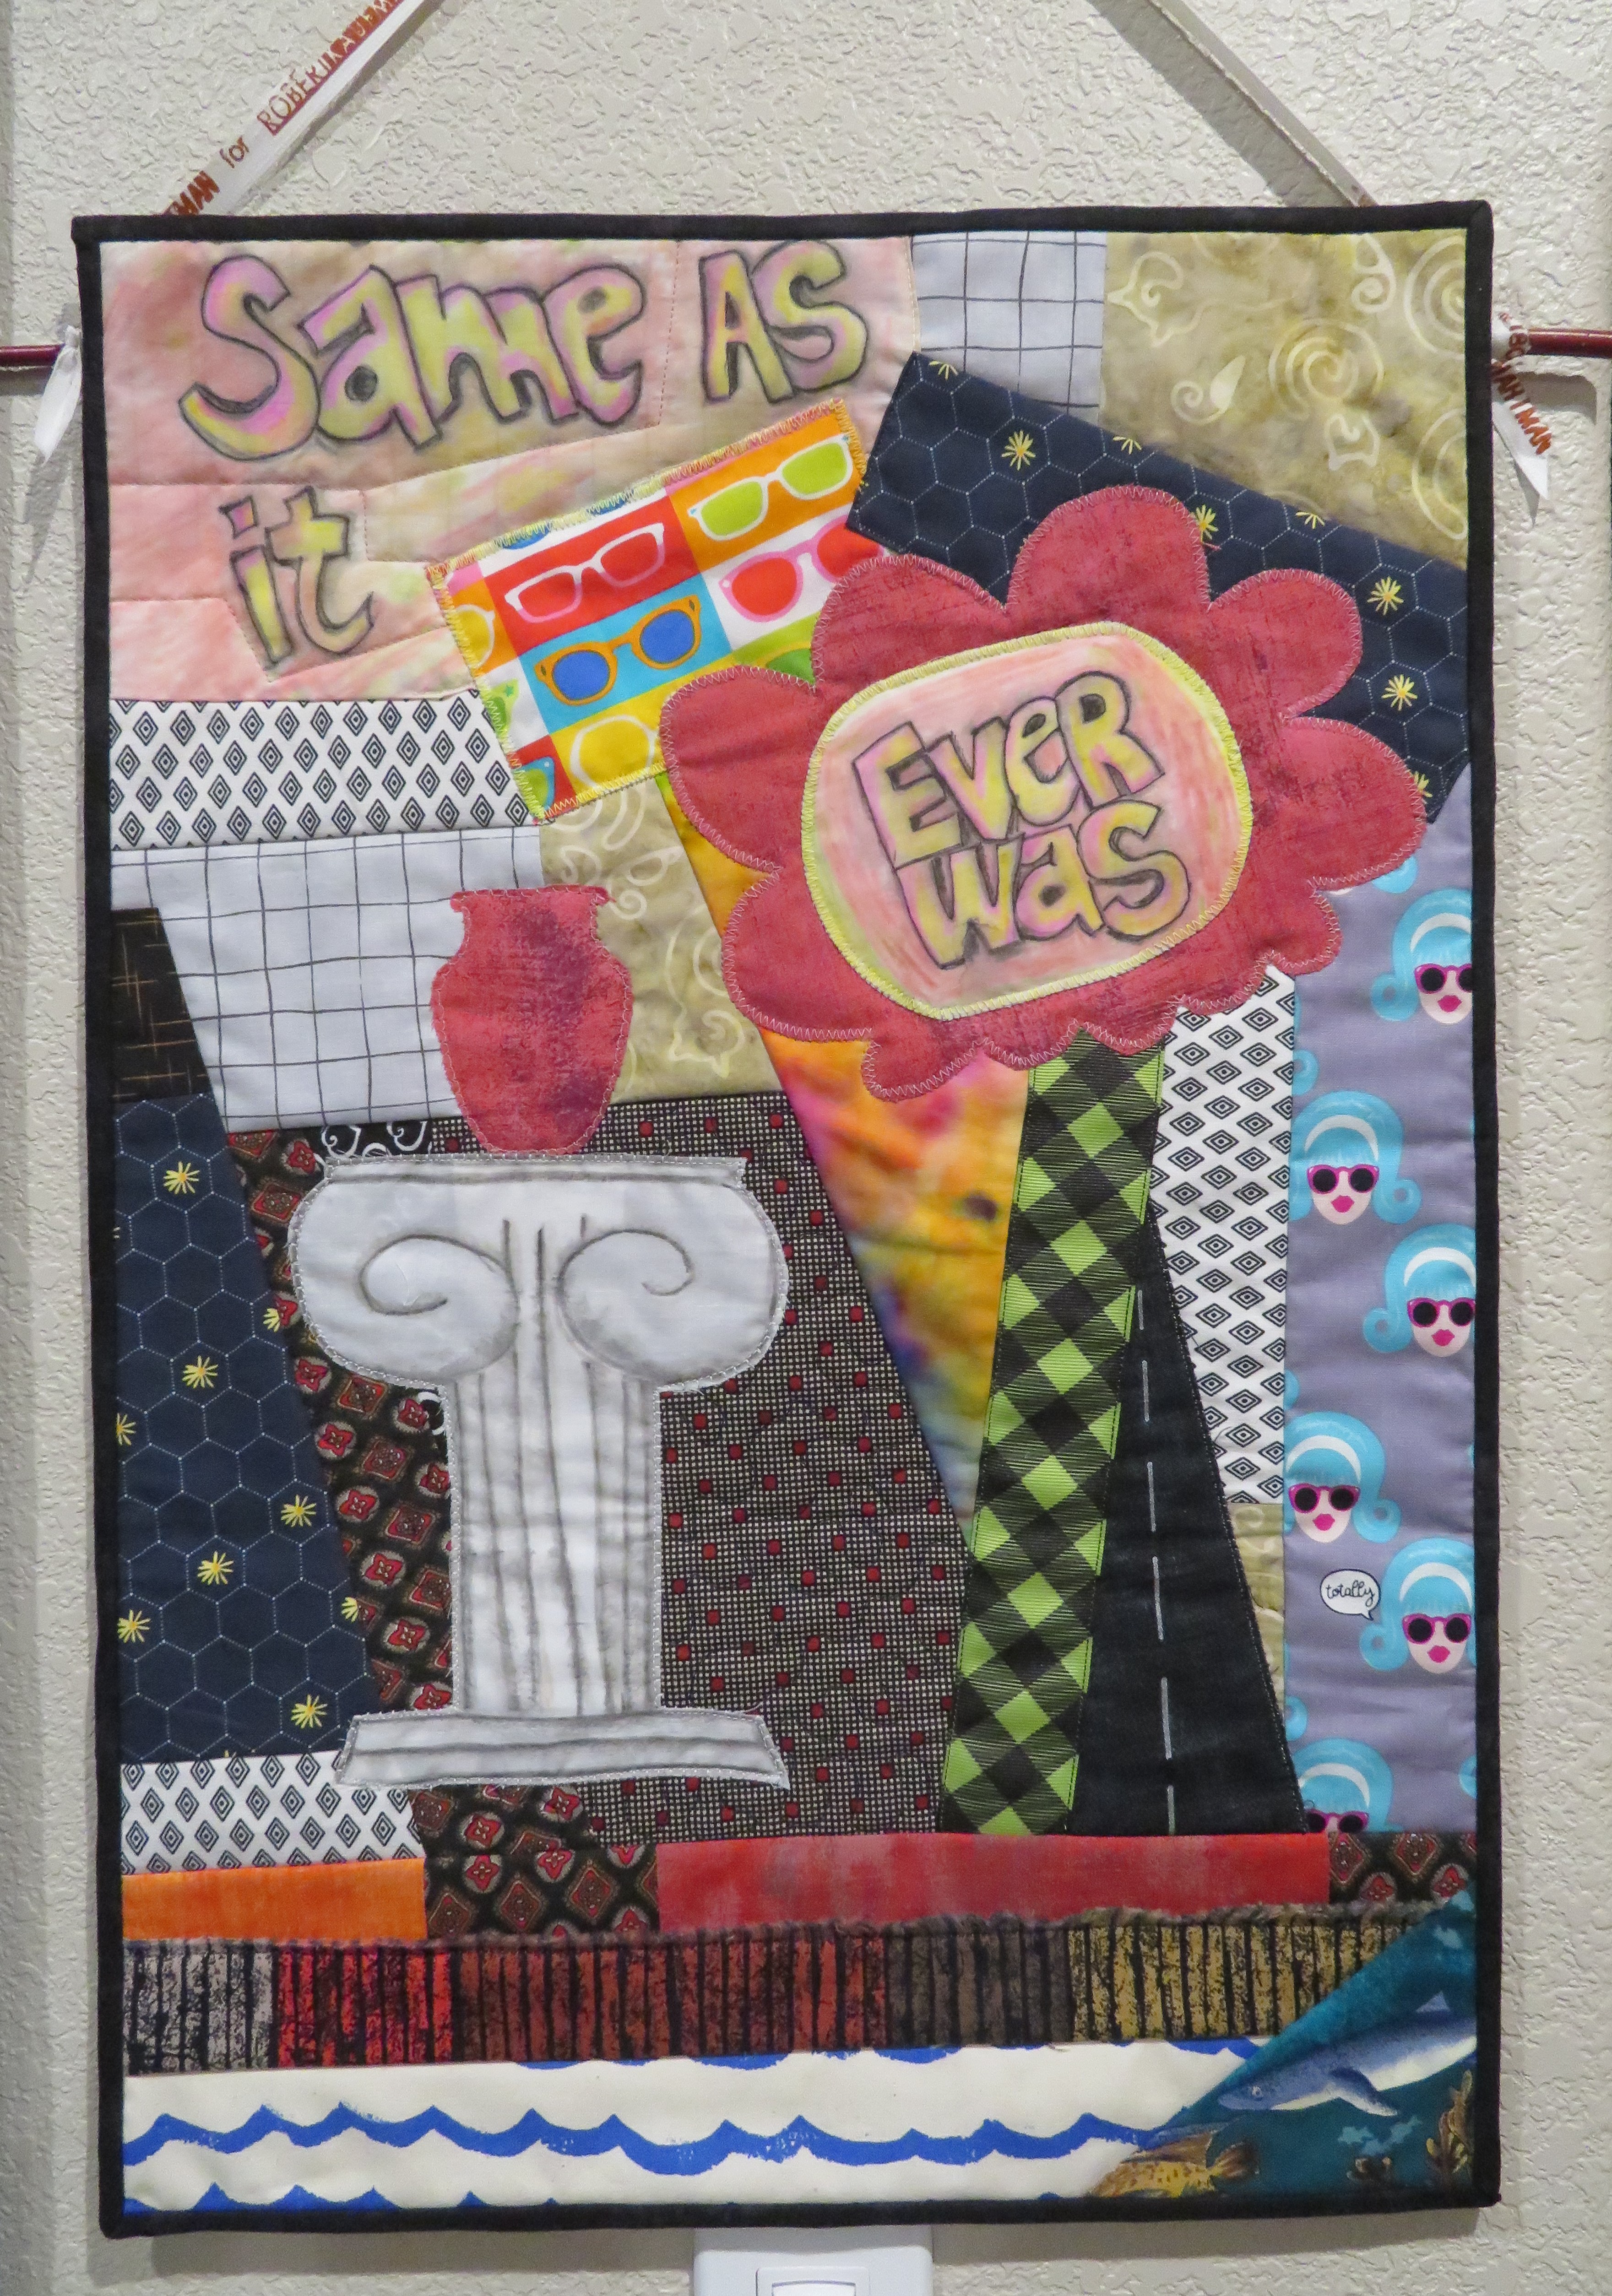
I heard about "graffiti quilts" last August.  The term intrigued and excited me.   When I went on-line to look this up, I was very disappointed that some long-arm quilters were making "thread paintings," but calling them graffiti quilts.  The "graffiti quilts" I was seeing were fancy immaculate quilts, which to my mind, have nothing to do with graffiti.  I think, actual graffiti makes a statement in a bold and raw fashion.  I had a discussion, about this situation with a fellow quilter, who's little group of quilters decided to each make a graffiti quilt, but not with thread painting.  They wanted to do small wall-hangings that had a message in a bold fashion.  I thought they were quite good and not fancy and elegant.  I started my own "graffiti quilt" in November.  

I decided to use some words from a song as a statement in my graffiti quilt.  I mulled it over for a while, then went with Once in a Lifetime, by the Talking Heads.  

My wall-hanging is 15.5" X 22".  I sewed a casing on the back and cut a branch from the bush in our front yard to hang it on, using a ribbon that had previously tied up a stack of fat quarters.  I used what I had on hand to make it.  The words are painted on white muslin with woodless watercolor pencils.  The entire thing is quilt-as-you-go.  The backing, batting, and the two pieces of fabric behind the Roman pillar started out as a piece to practice my stippling on.  I just added everything else to it.  This is my graffiti. 

Thursday, December 7, 2023

Pizza Rounds Quilt

In late August, when I was not working at the Home Arts Dept. at The Fair, I was playing around with some of my favorite bright fabrics and some curves.  I started what I call my "Pizza Rounds" art quilt.  To me, it is an art quilt.  It hangs in my quilt room, where it adds nicely to the atmosphere.  My quilt room has a lot of atmosphere. 

Our daughter came to visit in the first half of November, and we had so much fun.  We went on a day trip to Twin Falls, where we strolled down Main Avenue, window shopping.  We discovered several interesting places and spoke with a number of engaging people, especially small businesswomen.  


We met a friendly print shop cat, and an adorable creativity shop bulldog.  This little bulldog was the shop greeter at "Altered Purposes".  The shop, Altered Purposes, is amazing.  It has stuff creative of all types, not limited to wood, ribbons, decals, metal, paper craft, paint, inspiration for upcycling, classes, and bunting.  I bought some small drawer handles, that I intend to use on an art quilt.  I also bought some woodless watercolor pencils and a length of plaid grosgrain ribbon, which I used to make my "Ever Was" graffiti quilt.  My daughter asked the owner, who happens to be a woman veteran like my daughter and I, if she had a room upstairs for rent, as she would love to live upstairs and come down every day to play.  My daughter does a bit of sewing and is very creative, and her true creative love is everything Halloween.  

She has inspired me to do some Halloween quilts, bunting, and some small art quilts.  I have taken about a month off from quilting, and now I am trying to clean the Christmas lights and wrapping stuff off my quilt table.  Just this evening, I got a little twitch to do some piecing, so I better get my table cleared off, so I can get going again.

Tuesday, November 7, 2023

Dalek Quilt for Daughter

In 2015, I found some amazing Dalek fabric, on-line.  I could not pass up buying it, as my daughter is a huge Dr. Who fan.  She visited over the holidays (2015-2016), and I gave her the pillowcase, I made out of the fabric.  She loved it.  She says it "exterminates bad dreams".  See it in my post of 3 Jan 2016 .  I think I started the stack-n-whack quilt in 2016.  I completed it in 2017.  I did not make a blog posting when I completed the quilt, because I made it as a gift for my daughter's retirement from the Air Force.  I know she seldom looks at my blog, but she does occasionally, and she looks back aways, so I did not want to chance it. Her twenty years is coming up in December, so I have decided to give it to her now.

It makes me smile when I think she has no idea this amazing thing exists in the universe.  I only took this photo of it last Sunday.  It has been hidden away for a while.  My husband helped me to hang it on the wall in my quilt room, so she can discover it, when she arrives later today.  I must admit, I am excited for that moment.  I am sure she will know it is hers.

I took this photo in February 2017, when I had all six layers pinned together, before cutting it into triangles.  I think this was the second batch, as it took two make that many.  It is not your typical stack-n-whack fabric, but it worked for my purpose.

Design wall photos.  This is the last photo I took (11 Mar 2017), before I put the completed quilt away.  I meant to take a photo a few times, but it just never happened.  Put your mouse on the photo(s) and click to enlarge the photo(s).  The quilt is 67" X 78".
I am so excited she is coming today, and I finally get to make a posting about this amazing quilt.  I did take over a year to make it, because I stopped after I got all the Dalek blocks finished, as I was concerned about making the black/white triangles that go in between.  You have to place them a certain way, so they do not stretch, plus I always want to start a new project before the old ones are complete.  It is the way of creativity!

Monday, October 23, 2023

MY Round Robin Row Quilt

Earlier this month, I wrote about the process of the "round robin row quilt."  Just scroll down a little; it is the next post below this one.  I got my quilt top back from the other quilters, and then I had to square it up, add a little more sashing, and borders.  Then I located a quilt backing, in my stash, that was good to go.  Thank-you, Teresa.  It's been five years.  

Here is my completed quilt, hanging on another old barn in my neighborhood.  I do love it, when I ask permission to photograph a quilt on someone's barn, and they say, "Go right ahead."
These folks have taken a lot of care in keeping this barn in good shape.  It is well painted.  I, too, took a lot of care in getting this quilt top into shape, prior to being able to quilt it.  I quilted it myself.  I do like how it came out. Smile!

Saturday, October 14, 2023

Round Robin Row Quilt

The project of my quilt group, for 2023, is a "Round Robin Row Quilt."  We each make one row and put it in a box with instructions, and maybe some fabrics to go with.  Then it gets passed to several other quilters, in this case, eight others.  Our rows are 36" long.  Each month it went to someone else, then we had a big reveal at our August meeting.  I photographed each quilt that I received, with whatever number of rows it had at the time.  I am going to share them. 

This is the row I put in my box.  It is just springy fabrics.  My blocks are 6" X 6" square.  It has a 50's feel.
This is the first one I got to work on.  The big flowers are Monicas.  I added the bird house row.
The second one, I got to work on, was Annita's.  Her's is the one I posted about last spring.  It is in "rainbow order", so I made the third row down, with alternating shoo fly and churn dash blocks in green and yellow.
#3 was Jan's.  I added the nine-patch row at the bottom.  I got it done the second night I had it.  So, I was feeling fairly accomplished.  I also brought home Marsha's.  She had fallen and REALLY hurt herself, so she could not do any sewing.  She dropped out of the project, but we wanted to finish her quilt top for her, so I took it and added my row in April prior to our monthly meeting.
#4 Marsha's was about neighborhoods.  I added the top row, in this photo.  I put a yellow sun and a yellow tree to help balance the yellow that was in the lower row.
#5 was Tessa's.  I did the liberated churn-dash blocks at the top.  I was bad and used that lovely floral for the background.  Her instructions said to use the white, but no one was using that lovely floral, so . . . I did.

#6 was Lizzy's.  Her's was a farm theme, so I added the chicks on the bottom row.  I embroidered their little legs on.
#7 was Donna's, called "Who Let the Dogs Out?"  I liked what everyone had done before me, and I wanted to be different, so I made little dog houses with dogs in them.  This doggy neighborhood has lots of trees.
#8 was Judy's and it had trees.  I used the same fabrics as that second row from the bottom, so I balanced it off by making the row pictured at the top.  The trees are pale and have sunflowers on them, and the background is the blue and green tree fabric.
This is what my quilt top looked like, when I got it back in August.  I realized the Donna did not get to do a row on my quilt, so I called her up.  Because the top was long and narrow, she agreed to make me four corner blocks for the borders.  We are supposed to have our quilts done, for sharing/showing off at our meeting later this month.  I only started working on mine on September 28, but I have got it finished.  I need to photograph it, then I will post it on this blog of mine.  Thanks for reading my blog.

Tuesday, October 10, 2023

Hachi II

I finally took photos of my second Hachi quilt.  It has the traditional Japanese binding, so you do not see the binding on the edge.  It has a very clean finish.  Yes, another barn was found to photograph it on, and this morning was overcast, so I drove right out and got a photo.


I am glad I did not dilly-dally, as now it is raining.  Time for a cup of tea!  It suddenly feels like fall.  I call this my purple Hachi quilt, but it is so much more.  You can see my original post, dated July 30, 2023, about this quilt and my other Hachi quilts.  At that time, this one was on the design wall.  Look at the "Blog Archive" of my posts in the right margin, and find 2023, then July under it, and CLICK! -->      Or you can just scroll down until you get to it.  Then you get to see other quilt photos on the way, just traveling backwards in time.

Thursday, September 28, 2023

The Boo Do Special

Look at your fabrics and see how they interact with each other.  When shopping for fabrics for this type of wall hanging, keep in mind what you need for good background, foreground, skulls, teeth, and eyes.  I have a few special fabrics, I was fortunate to find, that work in a way that other fabrics don't seem to.  This wild dark blue and white fabric, that I want to call a plaid, is one of them.  It is kind of a wavy grid pattern.

I have used it a lot, in the past couple of years, to make my skull designs really stand out.  It is great for the background and for the mouth.  I use a rustic sort of white fabric, as the skull, so the white is not glaring or clean looking.  I made my own skull pattern, by attempting to draw a peanut shape.  I keep all my patterns in a binder, so I can locate them when I want to use them again.  If you draw a shape, then decide it is too small or too big, just resize it on your copy machine, or draw more lines inside or outside of the existing shape.  
I like the wonkiness of my skull pattern, as I can flip it one way or the other and have it a little different, instead of cookie cutter skulls.  I fussy-cut the teeth and ghetto applique them onto the skull part.  Of course, everyone knows that when doing applique on a Halloween project, you must use Stitch-Witchery to hold the pieces in place, while you sew. 
I don't like scary skeletons or skulls, so I like using large flower prints, or something similar, for the eyes.  I have several good prints that work very well for this.  

Because I am making a wall-hanging for my hairdresser, I got this crazy idea about making something with a "Boo do".  I decided I needed to put a "do" on one of my skulls, as the focal point.  I used my existing skull pattern to help me draw the right size of hair to place over it.  I just drew some spikes!  Then I had to think about the right fabric for the hair.  Hmmmmmm?  A dash of purple?  Lightbulb!  I have some amazing fabric that I ordered years ago, to use in my daughters' Doctor Who quilt.  I have some scraps of that.  I dragged that out and pressed it, then fussy cut an area that I thought would look good.  It does!

The plaid/grid background, above, will not work on this, as the hair fabric changes the dynamics.  I had to go for the darker solidish fabric.  I already had two flower-circles fussy-cut from a previous project, so I just used them.  This is so shaping up!
The design wall has not been this clear in some time.  This block is approximately 9.5 by 12 inches.
Then, I took some strips out of my spooky stash and tried them around the central block.  I cut a couple strips, so I could audition how it looks.  I want orange strips around the black to make it pop.  I want something in a couple of the corners to ease the background of the skull.  Since it is for my hairdresser, I decided to add some scissor fabric in one of the corners.  I have lots of different scissors prints, and one just happens to be black and white.  Then my gray fabric with skulls and ghosts also has the word "Boo" on it.  I fussy cut that out to make the "Boo do" part, then decided it looks rather like a poster or add, so I am adding the word "special" underneath.  If Teresa were here, she would tell me that I misspelled it. 
Only the central orange section is sewed at this time, the rest is merely clinging around it on my design wall.  All I need to do, is finish sewing those strips around it.   I do like the direction this has taken.  Notice the scissors fabric, please.  It really fit in.

I "do" like the deer-in-the-headlights look.  Here you can see how this skull differs from the others.  The hanging in the background is the one I did last year.   I hope you embark on your own adventure in creating a wall-hanging.